Keeping your laptop keyboard clean and in good working condition is essential for maintaining a comfortable and efficient typing experience. In this guide, you’ll learn about the necessary supplies, preparation steps, and cleaning techniques, both dry and wet, to effectively clean your laptop keyboard. Additionally, you’ll discover methods to clean hard-to-reach areas, reassemble your laptop, and implement maintenance tips to prolong the life of your keyboard.
Gathering Necessary Supplies
Gathering Necessary Supplies for Cleaning Your Laptop Keyboard
Cleaning your laptop keyboard is crucial for maintaining its performance and appearance. In this guide, we will discuss the essential tools and cleaning materials needed for the process. Following these instructions will help ensure that you have the necessary supplies to clean your laptop keyboard safely and effectively.
1. Compressed Air:
Compressed air comes in a canister with a nozzle that sprays out air when pressed. It is the most effective tool for removing dust and debris from your laptop keyboard. You can purchase compressed air at most electronic stores or online retailers.
2. Isopropyl Alcohol:
Isopropyl alcohol is an excellent cleaning agent for electronic devices, as it evaporates quickly and leaves no residue. Make sure to purchase a bottle with a 70% or higher concentration to ensure its effectiveness in cleaning your laptop keyboard.
3. Cotton Swabs:
Cotton swabs are a versatile cleaning tool that can effectively clean hard-to-reach areas on your laptop keyboard. They can be dampened with isopropyl alcohol for a thorough clean. You can find cotton swabs at your local grocery store or pharmacy.
4. Microfiber Cloth:
A microfiber cloth is a lint-free, soft fabric that effectively removes dust and smudges from electronic devices. It’s an essential tool for cleaning the surfaces of your laptop keyboard. Microfiber cloths can easily be found at most grocery stores, home goods stores, or online retailers.
5. Soft-Bristled Brush (Optional):
A soft-bristled brush can be used to gently remove stubborn debris or clean the edges of the keys. Opt for a brush with soft, nylon bristles to avoid scratching your laptop keyboard.
Conclusion:
Having the right cleaning supplies on hand is essential for safely and effectively cleaning your laptop keyboard. Be sure to gather compressed air, isopropyl alcohol, cotton swabs, a microfiber cloth, and an optional soft-bristled brush before beginning the cleaning process.
Preparing the Laptop
Safely power off your laptop:
Before beginning the cleaning process, it’s essential to properly shut down your laptop. Click on the Start or Windows icon in the bottom left corner of your screen, and then click on the power icon. Choose ‘Shut down’ from the options provided. Wait for your laptop to completely power down.
Unplug your laptop:
Once your laptop is fully powered off, disconnect the power cable from your laptop. This will ensure your safety during the cleaning process, as well as protect your laptop from any potential damage.
Remove any potential power sources:
If your laptop has a removable battery, now is the time to remove it. Check your laptop’s user manual for instructions on how to safely remove the battery. By removing the battery, you ensure that your laptop remains unpowered during the cleaning process.
Detach any external devices:
If you have any external devices connected to your laptop, such as a USB flash drive, external hard drive, or a mouse, unplug them before proceeding. This ensures that your laptop is free from any obstructions as you clean the keyboard.
Clean your workspace:
Make sure you have a clean and dry surface to work on during the cleaning process. Clear any clutter from your workspace, and have any necessary cleaning supplies at hand, such as canned air, a small brush, a soft cloth, and isopropyl alcohol.

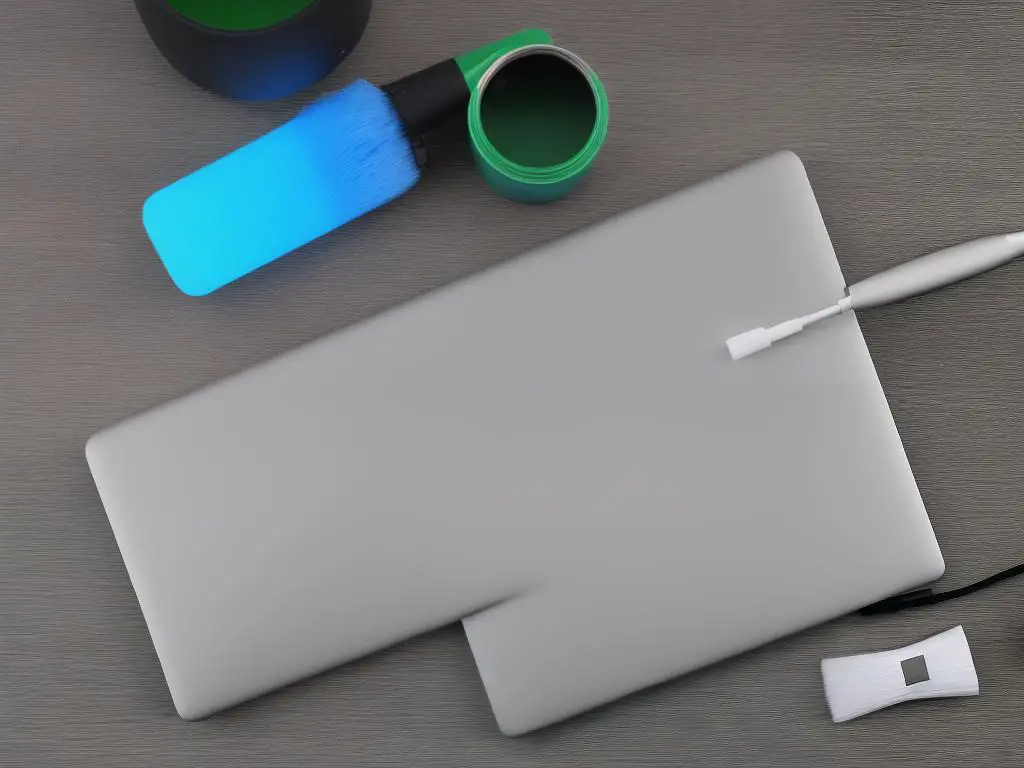
Photo by jessbaileydesigns on Unsplash
Performing Dry Cleaning
Before you begin, gather the following materials:
1. A can of compressed air (available at most electronic stores)
2. A small, soft brush (such as a clean, unused paintbrush or makeup brush)
3. A clean, lint-free microfiber cloth
4. A screwdriver (optional, only if you need to remove the keycaps)
1. Power off your laptop and unplug it from any power source. It’s important to ensure that the laptop is completely turned off to prevent any damage during the cleaning process. If possible, remove the battery as well.
2. Place your laptop on a clean, flat, and stable surface, such as a table or desk, with the keyboard facing up.
3. Gently shake the laptop while holding it in a slightly slanted position. This helps to remove any loose debris or dust particles that might be trapped between the keys.
4. If you’re comfortable with removing the keycaps, follow the manufacturer’s instructions to do so. This step is optional but can provide a more thorough cleaning. Be cautious not to damage the keys or their mechanisms in the process.
5. Using the can of compressed air, hold the nozzle about an inch away from the keyboard surface. Begin by spraying the air in short bursts at a 45-degree angle. This allows the dust and debris to be effectively blown away from the keyboard without causing any damage.
6. Move methodically across the keyboard, ensuring that you cover each section systematically. Pay special attention to areas that may be more prone to accumulating debris, such as gaps between the keys.
7. Next, use the small, soft brush to gently sweep away any remaining dust or debris from the keyboard. Be careful not to press too hard, as this can damage the keys.
8. If you removed the keycaps earlier, use the compressed air and soft brush to clean them as well. Once they’re clean, carefully place them back onto their respective keys according to the manufacturer’s instructions.
9. Finally, use the clean, lint-free microfiber cloth to give the keyboard a gentle wipe down. This helps to remove any remaining dust particles and leaves your keyboard looking clean and fresh.
10. Reattach the battery (if it was removed) and power on your laptop. Your keyboard should now be free of dust and debris, resulting in a more enjoyable and efficient typing experience. It’s recommended to perform this dry cleaning process every few months to keep your laptop keyboard in optimal condition.

Performing Wet Cleaning
Gather Supplies
- 70% or 90% isopropyl alcohol
- Cotton swabs (Q-tips)
- Microfiber cloth
Shut Down and Unplug the Laptop
Turn off and unplug the laptop before cleaning to avoid damage or electrical hazards.
Dilute the Isopropyl Alcohol (Optional)
If using 90% isopropyl alcohol, you may dilute it with a few drops of water to make it less harsh. No need to dilute at 70%.
Moisten and Clean with Cotton Swab
Gently rub each key’s surface with a cotton swab moistened with alcohol.
Clean Between Keys
Swipe between keys with a moistened cotton swab to remove debris. Be cautious not to snag the cotton swab on any parts underneath the keys. Use a dry cotton swab if needed for hard-to-reach areas.
Let Keyboard Dry and Wipe
Let the keyboard air dry for a few minutes, then wipe with a clean microfiber cloth to remove remaining moisture or residue.
Reconnect and Power On
Ensure the keyboard is dry before reconnecting and powering on the laptop.

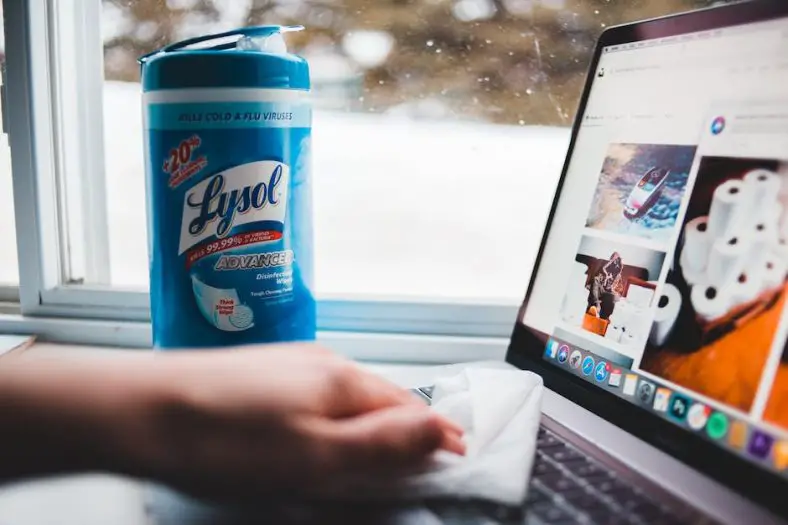
Photo by anete_lusina on Unsplash
Cleaning Hard-to-Reach Areas
Introduction:
Laptop keyboards can accumulate dirt, crumbs, and dust over time. It is essential to clean these hard-to-reach areas between keys and crevices to maintain the performance and appearance of your device. Here are some specific methods, techniques, and tools you can use to clean those hard-to-access spots.
Materials needed:
- Compressed air duster or canned air
- Cotton swabs or Q-tips
- Rubbing alcohol or isopropyl alcohol (preferably 70% or above)
- Soft, lint-free cloth or microfiber cloth
- Soft-bristled brush or old toothbrush
- Tweezers (optional)
Instructions:
- Power off and unplug your laptop: Before starting the cleaning process, ensure that your laptop is fully shut down and disconnected from any power source. This will prevent any accidental damage to your device while cleaning.
- Prepare your cleaning tools: Gather all the necessary cleaning materials listed above, such as compressed air duster, cotton swabs, rubbing alcohol, and a soft cloth.
- Use a compressed air duster: To remove dirt and debris from hard-to-reach areas, hold the air duster nozzle at an angle about 1/2-inch away and gently blow away the dust and particles. This will help in dislodging any trapped particles from between keys and crevices.
- Cleaning with cotton swabs: Dampen cotton swabs with a small amount of rubbing alcohol. Gently go over and around the keys, focusing on the sides and hard-to-reach areas. Be sure not to over-saturate the cotton swab, as excess liquid can damage your laptop’s components.
- Utilize a soft-bristled brush or old toothbrush: Gently scrub around the keys and crevices with a soft-bristled brush or old toothbrush to remove any stubborn dirt or debris.
- Tweezers for larger debris: If any larger particles are caught between the keys or hard-to-reach areas, use a pair of tweezers to carefully remove them. Be cautious not to apply too much force while extracting the particles to prevent any damage to your keyboard.
- Wipe down the surface: After you have thoroughly cleaned the hard-to-reach areas, use a slightly dampened soft lint-free cloth or microfiber cloth to wipe down the keyboard’s surface.
- Final touches: Use the compressed air duster once more to blow away any remaining dust or debris dislodged during cleaning.
- Allow the keyboard to dry: Give the keyboard ample time to dry before powering up and using your laptop. Rubbing alcohol typically evaporates quickly, but it is best to wait a few minutes.
Conclusion:
Regular cleaning of your laptop’s keyboard, including the hard-to-reach areas, can help maintain the device’s longevity and performance. With the right tools and techniques, cleaning these areas can be simple and effective.

Reassembling the Laptop
Ensure all parts are dry: Before you start the reassembling process, make sure that all components are completely dry, including the keyboard and any removed parts. This is important to avoid causing any damage or short circuits when you turn on the laptop.Reattach the keyboard: Carefully align the keyboard with its designated space on the laptop. Make sure all the holes for screws and clips are aligned correctly. Slowly lower the keyboard into position, ensuring that the connector ribbon at the back of the keyboard is accessible. Reconnect the keyboard connector: Locate the keyboard connector and gently insert the ribbon into the slot, making sure it is properly secured. Some connectors have a locking mechanism, so make sure to lock it in place if necessary.Secure the keyboard: Once the keyboard is connected and in position, reinsert and tighten all the screws that were removed earlier. This will ensure the keyboard stays firmly in place. If your keyboard also has clips, gently push down on the edges of the keyboard to snap them back into place.Reinstall any other removed components: If you removed any additional components during the cleaning process, such as the battery or RAM, make sure to reinstall them now. Place them back into their respective slots and secure them with any necessary screws or clips.Reattach the laptop cover: Carefully align the cover with the laptop and press down firmly to snap any clips back into place. If there are screws required to secure the cover, reinsert and tighten them now.Connect the power supply: Plug the power supply back into the laptop and connect the power cable to a wall outlet.Power up the laptop: Press the power button to turn the laptop on. If everything has been properly reassembled, the laptop should start as normal.Test the keyboard functionality: Once the laptop has fully booted up, open a text editor or word processor to test the functionality of the keyboard. Try typing a few lines of text, using all the keys to ensure they are functioning correctly and that there are no issues with responsiveness. Don’t forget to test special keys like the function keys, enter key, backspace, shift, and the spacebar.Confirm all components are working: If you removed any other components like the battery or RAM, make sure to check that the laptop is recognizing and utilizing them properly. You can do this by checking the system information in your laptop’s settings.Congratulations! You have successfully reassembled your laptop after cleaning the keyboard. Regularly cleaning your keyboard can help extend the life of your laptop and keep it functioning optimally.

Maintenance Tips
To keep your laptop keyboard clean and functional, make a habit of cleaning it regularly. Clean the surface of your keyboard at least once a week, using an anti-static cleaning solution and a microfiber cloth to remove any dirt, dust, or fingerprints.
If your laptop keyboard has accumulated dust and debris between the keys, using a can of compressed air can help remove those particles. Turn off your laptop and disconnect any external devices. Hold the can of compressed air at a 75-degree angle and spray between the keys in short bursts to avoid moisture build-up.
If you experience difficulty removing dirt or debris, you can safely clean your laptop keyboard by removing the keys. Ensure you consult your laptop’s user manual and follow proper instructions on how to remove and replace keys without causing any damage. Once removed, clean the keys with a mild soap solution and let them dry completely before carefully reattaching them.
You can also use a small vacuum cleaner specifically designed for computers and electronics to clean your laptop keyboard. Ensure the laptop is turned off, use the vacuum’s gentlest setting, and slowly work your way around the keyboard to ensure all debris is removed.
To protect your laptop keyboard from dirt and spills, consider investing in a silicone keyboard protector. They are easy to clean and provide a barrier against dust, liquids, and other debris.
Minimize the risk of spills or crumbs on your keyboard by keeping food and drinks away from your laptop. If necessary, eat away from your laptop and make sure your hands are clean before resuming work.
Typing gently and avoiding excessive force on the keys can help prolong the life of your laptop keyboard. Not only is it better for the keyboard, but it can also help improve typing speed and efficiency.
To prevent the transfer of dirt or oils from your fingers to your keyboard, make sure to wash your hands regularly, especially before using your laptop.
Store your laptop in a clean and dust-free environment when not in use. If you carry your laptop with you, invest in a good-quality laptop bag or case to protect it from dirt and debris.
High humidity levels can lead to moisture building up on your laptop keyboard, leading to damage over time. Try to avoid using your laptop in excessively humid environments and invest in a dehumidifier if necessary.

By following these steps and techniques, you can ensure that your laptop keyboard remains clean, comfortable, and fully functional. Incorporating regular maintenance habits into your routine will help keep your laptop running smoothly and extend the life of your device. With the right tools and knowledge, you can confidently tackle any keyboard cleaning task and enjoy a cleaner, more responsive, and enjoyable typing experience on your laptop.