
In today’s fast-paced world, where technology plays a crucial role in our daily activities, ensuring that our devices are prepared to support us is more important than ever. This article aims to equip you with the knowledge and steps necessary to keep your laptop in optimal condition for work, creativity, and entertainment. From checking your power source to connecting external displays and performing a hard reset, we cover essential practices that promise to enhance your user experience and device reliability.
Power Source Check
How to Check If Your Laptop is Adequately Charged
Ensuring your laptop is adequately charged before a meeting, class, or any task requiring prolonged use is essential for uninterrupted work. Here’s a straightforward guide to help you determine if your battery is ready to support your activities.
- Step 1: Locate your battery icon. On Windows-operated laptops, the battery icon can be found on the bottom right of your screen, on the taskbar. For MacOS users, this icon is located on the top right corner of the screen.
- Step 2: Hover your cursor over the battery icon. Without clicking, simply move your pointer to rest on the icon. A small pop-up will appear, indicating your current battery percentage. This feature is common in both Windows and MacOS systems.
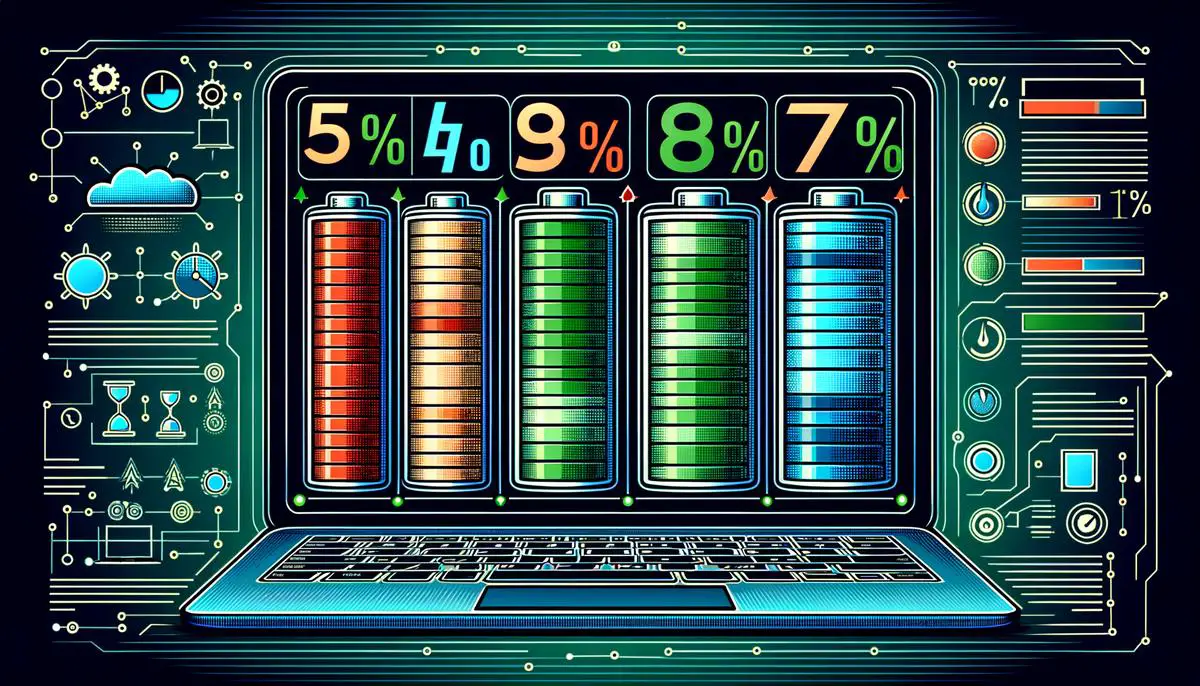
- Step 3: Understand the indicator colors. Laptops often use color to provide a quick overview of battery status. A green or full battery icon typically means the charge is above 80%, yellow or half full suggests moderate charge (around 30% to 79%), and red or an almost empty battery icon alerts you that the charge is below 30%.
- Step 4: Check for a charging indicator. If your laptop is plugged in, you should also see a charging symbol, often a lightning bolt or plug, next to or on the battery icon. This symbol confirms that your device is indeed charging.
Knowing when to charge: As a rule of thumb, it’s advisable to start charging your laptop once the battery level drops below 20%. This practice helps avoid sudden shutdowns and potential data loss.
Preparation for extended use: If anticipating long-term use without access to a charger, aim for a full charge – 100%. For shorter durations, a minimum of 50% charge should suffice to keep your device running smoothly.
In brief, regular checks on your laptop’s battery status and preemptive charging can save you from inconvenient interruptions in your work. Always aim to keep your laptop’s battery in optimal condition to ensure it supports you through all your tasks.
External Display Issues
Next, we will delve into the crucial aspect of connecting your laptop to an external display, a task that greatly enhances productivity and can elevate your entertainment experience. Whether you’re facing a presentation, a digital art project, or simply wish to enjoy a movie on a larger screen, understanding this process is indispensable.
Identify the Ports
Begin by identifying the available ports on both your laptop and the external display. Common types include HDMI, DisplayPort, USB-C, or VGA. Newer laptop models tend to favor HDMI and USB-C for their versatility and high signal quality.
Select the Appropriate Cable
Once you’ve identified the compatible ports, select the appropriate cable. Ensure it’s of suitable length to comfortably reach from the laptop to the display without undue strain on the cable or connectors.
Connecting the Laptop to the Display
- Power off your laptop to prevent any potential signal issues during the connection process.
- Connect one end of the cable to your laptop and the other to the monitor. If you’re using a USB-C connection, it matters less which end goes where, but HDMI and VGA connections should be matched to their respective ports carefully.
- Turn on your display and then your laptop. This sequence allows your laptop to recognize the external display as it boots up.
Configuring Display Settings
Upon startup, your laptop might automatically detect the external display and mirror or extend your desktop accordingly. If not, or if you wish to adjust the settings:
- On Windows, right-click on the desktop and select “Display settings” from the context menu. Here, you can choose to extend these displays, duplicate them, or show on either 1 or 2 only.
- On MacOS, open the Apple Menu and navigate to “System Preferences,” then “Displays.” Click on the “Arrangement” tab to configure your display settings. Check “Mirror Displays” if you want both screens to show the same content or arrange them side by side to extend your workspace.
Use these settings to customize how your workspace is displayed and optimized for productivity or enjoyment.
Troubleshooting
If the external display does not show your laptop’s output, double-check the cable connections and ensure the correct input source is selected on your monitor (e.g., HDMI 1, DisplayPort). Restarting your laptop with the display connected can also facilitate detection.
Optimizing these settings can provide an enhanced user experience, whether for work or leisure, allowing for a seamless transition between your laptop’s screen and the larger display whenever needed. By mastering these simple steps, you can transform any space into a versatile workstation or entertainment center.

Hardware Reset
Initiating a Hard Reset on Your Laptop: A Reliable Troubleshooting Step
In the realm of technological troubleshooting, initiating a hard reset on your laptop stands as a critical step, particularly when facing unresponsive applications or systemic slowdowns. This instructional guide navigates through the necessary steps to perform a hard reset effectively, ensuring your device returns to optimal functioning without delay.
Recognizing the Need for a Hard Reset
Before delving into the actual process, it’s pivotal to understand the circumstances that might necessitate a hard reset. These include:
- Your laptop freezing or exhibiting prolonged unresponsiveness.
- Inability to launch or close applications in a routine manner.
- Experiencing consistent operational lags, beyond typical processing speeds.
Steps to Execute a Hard Reset
The pathway to a hard reset encompasses simplicity and caution, ensuring data protection and system integrity.
- Safely Power Down Your Laptop: Begin by attempting to shut down your laptop through the standard shutdown process: clicking the ‘Start’ menu on Windows or the ‘Apple’ menu on macOS, then selecting ‘Shut Down.’ If your laptop remains unresponsive, proceed to forcibly power it down by holding the power button for approximately 10 seconds or until the device completely turns off.
- Unplug Any External Devices: Disconnect all external devices such as USB drives, external displays, and printers. This ensures that no peripheral is causing the issue.
- Remove Battery (If Applicable): For laptops with a removable battery, carefully take it out. Wait around 15 seconds before reinserting it to ensure a temporary clearing of the system’s state. It’s essential to note that many modern laptops have built-in batteries, and attempting to remove these can void your warranty.
- Initiate Power-Up Process Sans Power Source: Press and hold the power button for 15-20 seconds without the power cable attached or the battery inserted (for models where removal is feasible). This step discharges residual electrical charges.
- Reconnect Power Sources: Reattach any power cables or insert the battery back into your laptop. For those with non-removable batteries, simply plug in the power cable.
- Restart Your Laptop: Finally, power on your laptop by pressing the power button once more. Ideally, this reset clears the errant state and returns your device to a responsive condition.
Post-Hard Reset Considerations
Upon successful reboot, closely monitor your laptop’s performance for any similar issues. Persistent problems may indicate deeper hardware or software complications, necessitating professional diagnostics. Moreover, ensure regular system updates and backups to preempt future system glitches.
A hard reset serves as both a diagnostic tool and a solution—a first line of defense against common laptop malfunctions. Executing this process with precision and caution aids in preserving valuable data and extending your device’s lifespan. In instances where a hard reset does not rectify the problem, seeking expert advice or service becomes imperative for maintaining your laptop’s health and operational efficiency.
Mastering these simple yet effective techniques can significantly impact your productivity and enjoyment of digital experiences. Regularly monitoring your laptop’s battery life, understanding how to connect it seamlessly to other displays, and knowing how to perform a hard reset when issues arise ensures that you’re always prepared for whatever task lies ahead. By keeping these tips in mind, you can enjoy the confidence that comes with having a reliable technological companion ready at all times.
