When your HP laptop’s cooling fan starts to malfunction, it can lead to overheating and potential damage to your device. In order to fix the issue and extend the life of your laptop, it’s crucial to understand the cooling systems, diagnose the problem, and learn the necessary steps to repair it. In this article, you’ll explore the basics of laptop cooling systems, diagnose the fan issues, gather the required tools, disassemble and reassemble your HP laptop, and effectively clean, replace, and test your cooling fan.
Understanding laptop cooling systems
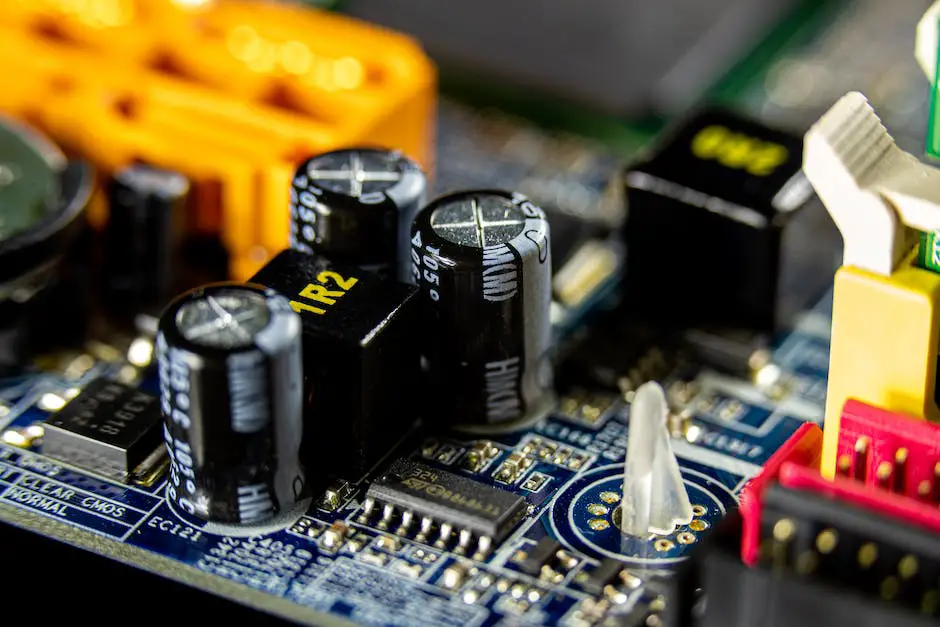
A laptop cooling system is an essential component that helps prevent the device from overheating, which can cause damage to internal components and negatively impact performance. Laptops generate heat through the various electrical components like the CPU, GPU, and hard drive. The cooling system helps dissipate and manage this heat efficiently to keep the temperature within the safe operating range.Laptop cooling systems typically consist of the following components:
– Heatsinks: Heatsinks are made of metal plates or fins, usually aluminum or copper, which dissipate heat away from the components by spreading it over a large surface area. The heatsink is attached to the heat-producing components like the CPU and GPU.
– Thermal Paste: Thermal paste is a thermal conductive compound that is applied between the heatsink and the components to improve heat transfer.
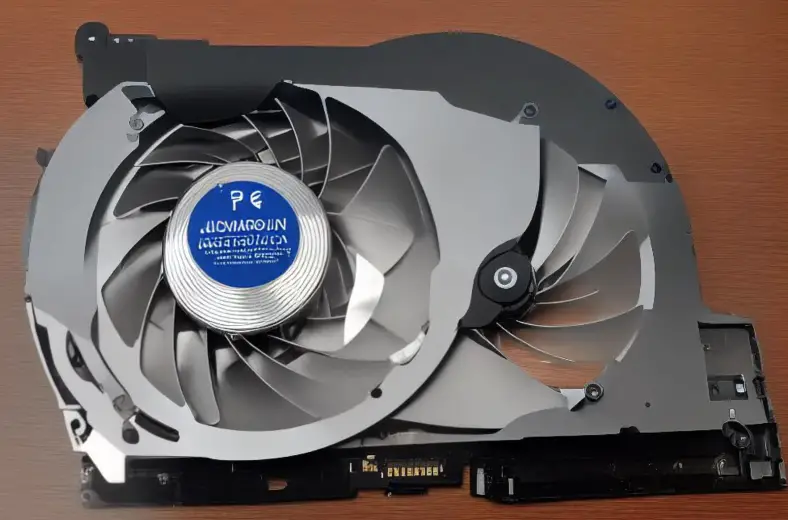
– Fans: Cooling fans help move hot air away from the laptop’s internal components and bring in cool air to lower the overall temperature. Most laptops have at least one fan; high-performance laptops may have multiple fans.
– Vents and Airflow Channels: Vents and airflow channels help direct the flow of air within the laptop, ensuring that hot air is not recirculated around the internal components.Here’s a basic overview of how a laptop cooling system works:
– When the laptop is turned on, the electrical components start generating heat.
– The heatsinks, which are in direct contact with the components, absorb and distribute the heat across the metal surface.
– The fans in the laptop help create a flow of air, drawing in cool air from outside and pushing out hot air through the vents.
– The channels and vents within the laptop help direct the airflow, ensuring efficient cooling of internal components.
– As the components cool down, the fans may slow down or stop, depending on the laptop’s temperature control system.Some common issues related to laptop cooling systems include:
– Dust buildup: Over time, dust can accumulate on the heatsinks and fans, reducing their efficiency and causing the laptop to overheat.
– Worn-out thermal paste: The thermal paste can become less effective over time, causing reduced heat transfer between the components and the heatsink.
– Malfunctioning or failed fans: Fans can become less efficient, fail, or stop working entirely.
– Blocked vents: Obstructed vents can restrict airflow, increasing the laptop’s internal temperature.Here’s a basic overview of how to fix cooling fan issues on your HP laptop:
– Turn off your laptop and unplug it from any power source.
– Use a can of compressed air to clean the dust from the laptop’s vents and fans. This can help improve airflow and cooling efficiency.
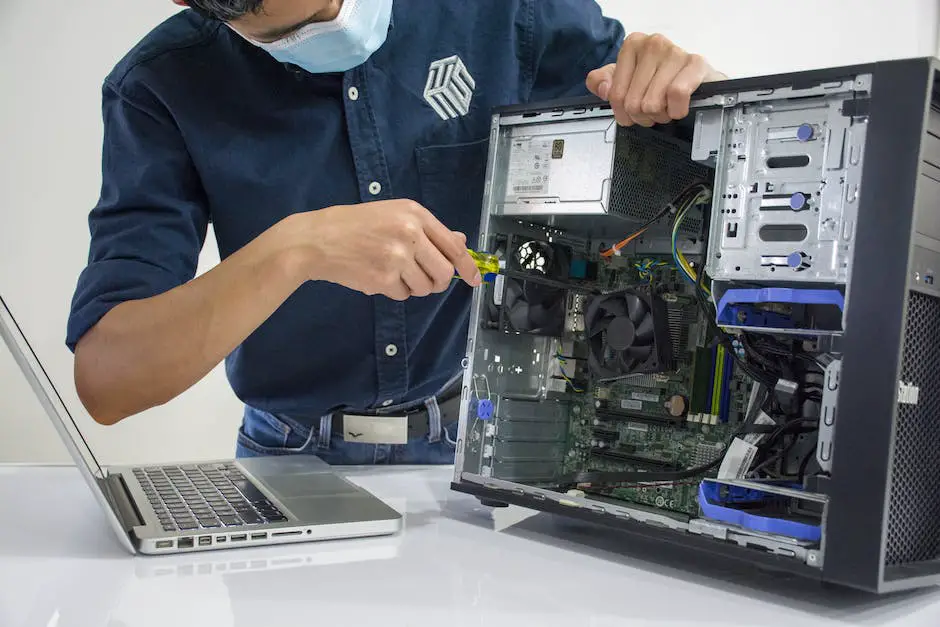
– If you’re comfortable opening up your laptop, carefully remove the back panel to access the internal components. (Follow the specific instructions provided by HP for your model.)
– Carefully inspect the fans for any damage or debris. Use compressed air or a soft brush to clean the fans as needed.
– If you suspect the thermal paste is no longer effective, you can carefully remove the heatsink, clean off the old paste, and apply new thermal paste before reattaching the heatsink. (Consult HP’s support resources or a professional for guidance if you’re unsure how to do this.)
– If the fan is malfunctioning or failed, you will need to order a replacement fan and follow the HP’s instructions for your specific model to install the new fan.
– Once you’ve addressed the issue, reassemble your laptop and test the cooling system to ensure it’s functioning properly.
Remember, always consult your laptop’s user manual and HP’s support resources for specific guidance and instructions related to your particular model, and consider seeking professional assistance if necessary.
Diagnosing cooling fan issues
If your HP laptop is overheating or running louder than usual, it might be a cooling fan issue. The cooling fan is an essential component that helps to prevent your laptop from overheating by keeping internal components cool. In this guide, we will go through the process of diagnosing and fixing cooling fan issues on your HP laptop.Before starting, it’s essential to know the signs of a malfunctioning cooling fan. Common symptoms include:
– Overheating
– Unusual noise coming from the fan
– Unexpected system shutdowns
– Reduced performance due to throttlingBefore diagnosing the issue, ensure that your laptop is placed on a hard and flat surface, which allows proper airflow. Avoid using the laptop on soft surfaces like a bed or your lap, as this can block air vents and cause overheating.Dust and debris can accumulate inside the laptop and obstruct the cooling fan, causing it to malfunction. To check for dust buildup, perform the following steps:
1. Shut down your laptop and disconnect it from the power source.
2. Remove the battery, if possible.
3. Use a can of compressed air or a soft cloth to clean the intake and exhaust vents gently. Do not insert any objects into the vents, as it may damage the fan or other internal components.
4. Reattach the battery and power on the laptop to check if the issue is resolved.If your laptop’s cooling fan is still not functioning correctly, the issue might be related to malfunctioning software or system settings. Follow these steps to update and optimize your laptop’s settings:
1. Update your laptop’s BIOS and drivers by visiting the HP support website and downloading the latest updates for your specific laptop model.
2. Adjust your laptop’s power settings by navigating to Control Panel > Hardware and Sound > Power Options. Find the “Power plan” section and select “Change plan settings” next to your active power plan. Click on “Change advanced power settings,” and under “Processor power management,” set the “System cooling policy” to “Active.”
3. Scan your laptop for malware using your preferred antivirus software, as malware can sometimes cause system overheating.If the cooling fan is still malfunctioning, it might be due to a faulty fan motor. In this case, you will need to replace the fan. Follow these steps to remove and replace your laptop’s cooling fan:
1. Shut down your laptop and disconnect it from the power source.
2. Remove the battery, if possible.
3. Refer to your laptop’s user manual or online resources to find specific instructions for opening your laptop’s case and accessing the cooling fan.
4. Once you have access to the fan, inspect it for any visible signs of damage or wear.
5. If a replacement is necessary, note the cooling fan model number and search for a suitable replacement online or at a local computer parts store. Ensure that the new fan is compatible with your laptop model.
6. Replace the faulty fan with the new cooling fan and reassemble your laptop.By following these steps, you should be able to diagnose and fix cooling fan issues on your HP laptop. Remember to maintain proper airflow around your laptop and clean dust and debris regularly to prevent future cooling fan problems.
Gathering necessary tools and equipment
In this guide, you’ll learn how to gather the necessary tools and equipment needed to fix the cooling fan on your HP laptop. A malfunctioning cooling fan can lead to overheating issues, causing decreased performance or even damage to your laptop. By following these instructions, you’ll be able to repair the cooling fan and keep your laptop running optimally.To fix the cooling fan on your HP laptop, you will need the following tools and equipment:1. A screwdriver set: You will need a set of small screwdrivers with both flathead and Phillips-head options, as laptop screws are typically small and delicate. Make sure to have screwdrivers of different sizes at hand, as there may be different sized screws in different parts of your laptop.2. Thermal paste: Thermal paste is essential for maintaining a proper heat transfer between the laptop’s processor and its cooling system. You will need to apply this when you put the cooling fan back in place.3. Compressed air: Compressed air will help you clean the cooling fan and other internal components of your laptop, ensuring that you remove any dust or debris that may be interfering with the fan’s operation.4. A plastic spudger or a credit card: This tool will be helpful for carefully prying open the laptop’s case without scratching or damaging it.5. A clean cloth or microfiber towel: This will be used to clean any surfaces before applying new thermal paste.6. Rubbing alcohol (preferably 90% or higher): This will be used to clean off the old thermal paste from the cooling fan and processor.7. Anti-static wrist strap: Working with sensitive electronic components carries a risk of electrostatic discharge, which can damage the components. By using an anti-static wrist strap, you can keep yourself grounded and minimize this risk.Before starting the repair process, make sure you have a clean, well-lit, and organized workspace. Lay out your tools, and have a small container (like a bowl or small tray) to hold your screws as you remove them. This will help prevent losing any small screws and make the process smoother.Now that you have gathered all the necessary tools and equipment, you are ready to begin the process of fixing the cooling fan on your HP laptop. By following these steps and having the proper tools at hand, you will be well on your way to repairing your laptop and preventing future overheating issues. Remember to always handle your laptop and its components with care, and ensure you are working in a clean, organized environment to minimize potential damage.
Disassembling the HP laptop
Before you begin, gather the necessary tools: a small Phillips-head screwdriver, a flat-head screwdriver, a plastic spudger or guitar pick, and a clean cloth. Also, keep a small tray or container to hold the screws as you remove them.
Please note that following these instructions may void your laptop’s warranty. It’s essential to refer to your laptop’s specific user manual for more detailed and accurate instructions concerning your particular model.
Step 1: Power off the laptop and unplug any accessories
- Turn off your laptop and disconnect any accessories such as external hard drives, USB devices, or any other peripheral devices.
- Unplug the power adapter.
Step 2: Remove the battery
- Flip your laptop over, locate the battery locking mechanism, and slide the latch to release the battery.
- Carefully lift and remove the battery from the laptop.
Step 3: Unscrew and remove the bottom panel
- Locate and unscrew the screws holding the bottom panel of the laptop in place. There may be several screws, so be sure to keep track of them.
- Use a plastic spudger or guitar pick to carefully pry open the edges of the bottom panel. Work your way around the edges gently to avoid damaging the laptop’s casing.
- Once the panel is loose, lift it off and set it aside.
Step 4: Disconnect the hard drive (Optional)
- If your laptop has a hard drive, locate it and gently disconnect the connecting cable.
- Unscrew and remove the hard drive.
Step 5: Remove the RAM (Optional)
- Locate the RAM slots and locate the small clips securing the RAM sticks in place.
- Gently push the clips outwards, allowing the RAM sticks to lift slightly.
- Carefully remove the RAM sticks from the slots and set them aside.
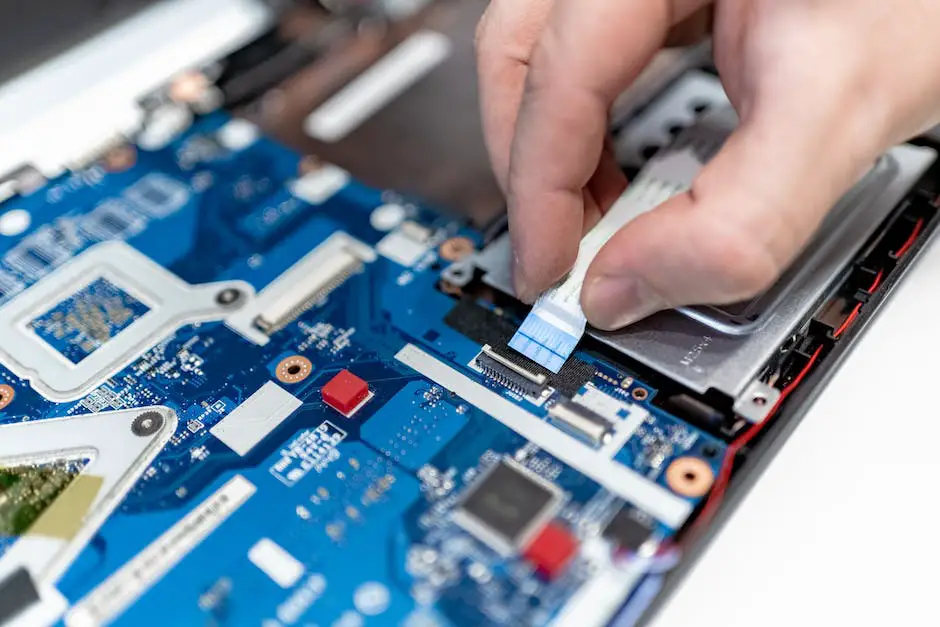
Step 6: Disconnect and remove the keyboard
- Locate the screws securing the keyboard and unscrew them.
- Carefully lift the keyboard, being cautious of the delicate ribbon cable connecting it to the laptop.
- Gently disconnect the ribbon cable by releasing the locking mechanism (usually a small piece of plastic holding the cable in place). Once the cable is disconnected, remove the keyboard and set it aside.
Step 7: Remove the palm rest
- Unscrew any screws securing the palm rest to the laptop’s base.
- Use a plastic spudger or guitar pick to carefully pry around the edges of the palm rest until it is separated from the base.
- Gently lift and remove the palm rest.
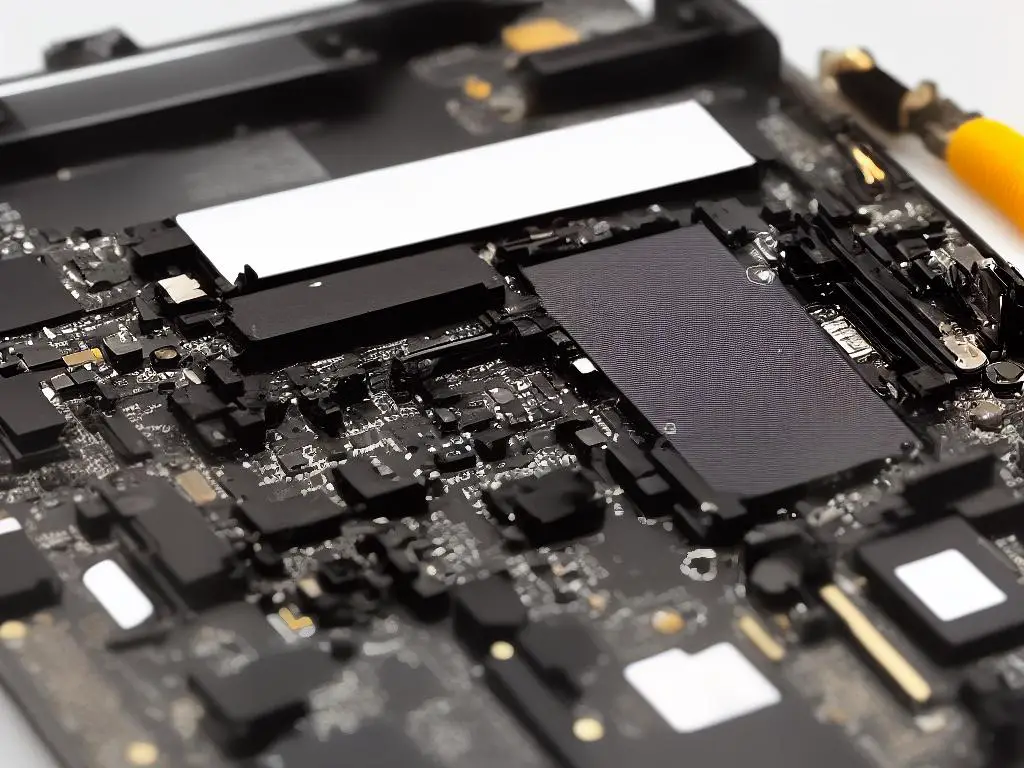
Step 8: Locate the cooling fan
- Look for the cooling fan, which is usually located near the laptop’s processor and attached to a heat sink.
Step 9: Disconnect and remove the cooling fan
- Carefully disconnect any cables connecting the cooling fan to the laptop’s motherboard.
- Unscrew any screws securing the cooling fan in place, and then carefully remove the fan.
Now that you have successfully disassembled your HP laptop and removed the cooling fan, you can proceed to fix or replace it. Remember to reverse these steps carefully when reassembling the laptop once you’ve resolved the cooling fan issue.
Cleaning the fan and heat sink
Follow these step-by-step instructions to clean the cooling fan and heat sink in your HP laptop to improve cooling efficiency. Remember to take all necessary safety precautions while working with electronic devices.
- Gather your tools: Before you begin, you will need the following items:
- A Phillips-head screwdriver
- A can of compressed air or an air blower
- Thermal paste (if needed)
- A soft, lint-free cloth or microfiber cloth
- Rubbing alcohol or an electronic cleaning solution
- Power off your laptop: Make sure your laptop is turned off and unplugged from any power source to ensure your safety during the cleaning process.
- Remove the battery: Turn your laptop over and locate the battery, then slide the battery latch or release button to take it out.
- Open the laptop case: Consult your HP laptop user manual to find the location of the screws that hold the laptop case together. Use the appropriate screwdriver to carefully remove the screws and gently lift the case’s bottom part. Be cautious not to damage any cables or components.
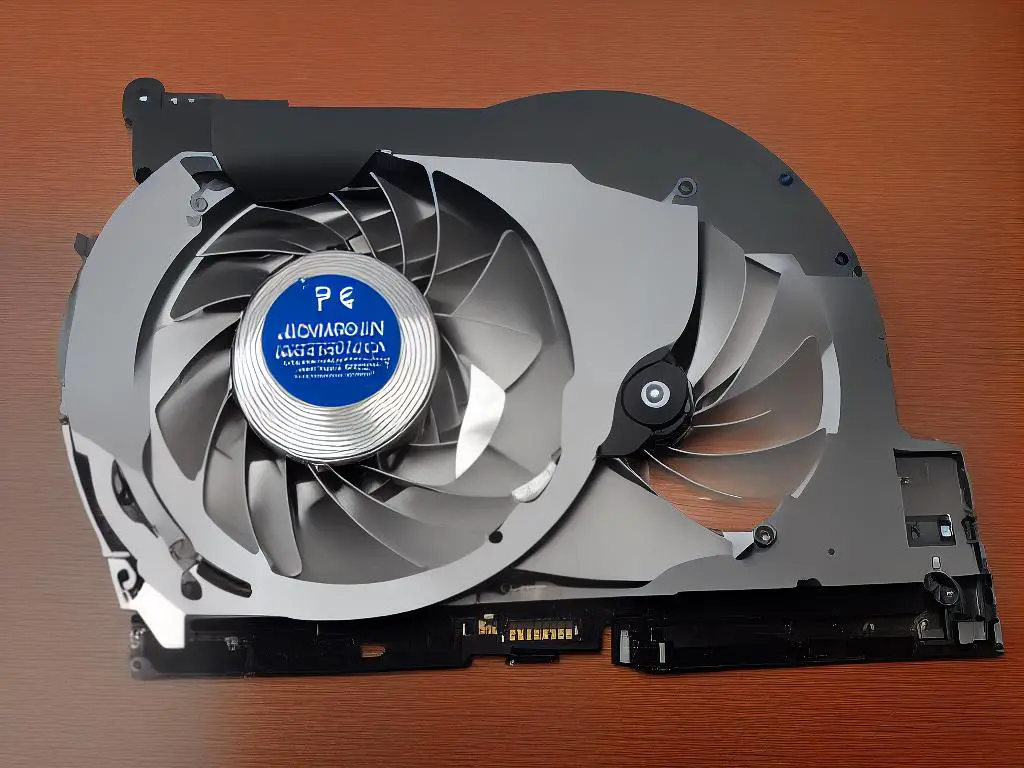
- Locate the cooling fan and heat sink: Look for the cooling fan, usually near the center, and the heat sink, which will appear as a series of metal fins or tubes. The cooling fan can look similar to a small, circular fan with multiple plastic blades.
- Clean the cooling fan: Using the canned air or air blower, gently blow air into the fan at an angle to remove any dust and debris. Be careful not to spin the fan too fast with the air pressure, as this can damage the fan’s motor.
- Clean the heat sink: Use the canned air or air blower to remove any dust or debris from the heat sink’s fins and surrounding areas, ensuring adequate airflow for improved cooling efficiency.
- Optional – Remove and clean the fan and heat sink: If necessary and you feel comfortable with laptop maintenance, completely remove the fan and heat sink from the laptop. To do this, consult your user manual for instructions on fan and heat sink removal. Once removed, clean them thoroughly using the canned air, cloth, and cleaning solution. If you removed the heat sink from the CPU, you might need to reapply thermal paste before reattaching it.
- Reassemble your laptop: After the fan and heat sink are clean and dry, follow the disassembly steps in reverse order to put your laptop back together. Ensure all components are reconnected and screws are tightened securely.
- Test your laptop: Power up your laptop and check if the cooling fan functions properly and if the cooling efficiency has improved. You can use software solutions to monitor temperature levels while your laptop is running to ensure that the cleaned cooling system is working efficiently.

Replacing the cooling fan
Before you begin, it is crucial to mention that opening your laptop to replace the cooling fan may void its warranty if you are not an authorized technician. If you’re unsure about proceeding, consider reaching out to a professional or HP support for help. However, if you still choose to continue, follow these steps:**Safety first:**
1. Make sure to power off your HP laptop and unplug it from any power source.
2. Allow it to cool down for some time (especially if it has been overheating).
3. Remove any attached peripherals such as a mouse, USB devices, or additional monitors.**Gathering necessary tools:**
4. You will need a small Phillips screwdriver, a small flat-head screwdriver, a soft cloth or towel, and the replacement cooling fan for your specific HP laptop model.**Disassembling the laptop:**
5. Turn your laptop upside down and remove the battery by locating and releasing the battery lock. Slide the battery out of the laptop.
6. Remove the screws that secure the back cover of the laptop. Gently lift and remove the back cover to access the internal components.
7. Locate the cooling fan in the computer. It will typically be near the CPU, with a metal heatsink connected to it.
8. Take a photo of the fan and its connected cables to help when putting it back together later.
9. Disconnect any cables connecting the cooling fan to the motherboard. Be careful not to damage the connectors.
10. Remove the screws that secure the cooling fan to the laptop structure. Note their positions for later reassembly.**Cleaning and prepping the area:**
11. Before installing the new fan, use a soft cloth or compressed air to clean dust and debris from the fan area and other components that may be affected by overheating.**Installing the new cooling fan:**
12. Carefully place the new cooling fan in the correct position, aligning the screw holes.
13. Reconnect any cables from the new fan to the motherboard, referring to the photo taken earlier.
14. Replace the screws to secure the fan, remembering the positions noted during disassembly. Avoid over-tightening.
15. If your laptop has a heatsink, make sure it is properly aligned with the new fan and correctly attached to the CPU. Some laptops may require thermal paste for the heatsink. Follow the manufacturer’s directions for reapplying thermal paste if needed.**Reassembling the laptop:**
16. Place the back cover onto the laptop and gently press down around the edges and center. Replace the screws to secure the back cover.
17. Reinsert the battery and ensure it locks into position.**Testing the new cooling fan:**
18. Turn on your laptop and check if the new cooling fan is functioning correctly. It should start spinning when your laptop powers on.
Congratulations! You have successfully replaced the cooling fan on your HP laptop. Be sure to monitor the temperature of your laptop and confirm that the issue of overheating has been resolved.
Applying thermal paste
Gather the necessary tools and materials:
– A small screwdriver set
– A non-abrasive cloth or paper towel
– 90% or higher isopropyl alcohol
– Thermal paste
– A plastic card or scraper
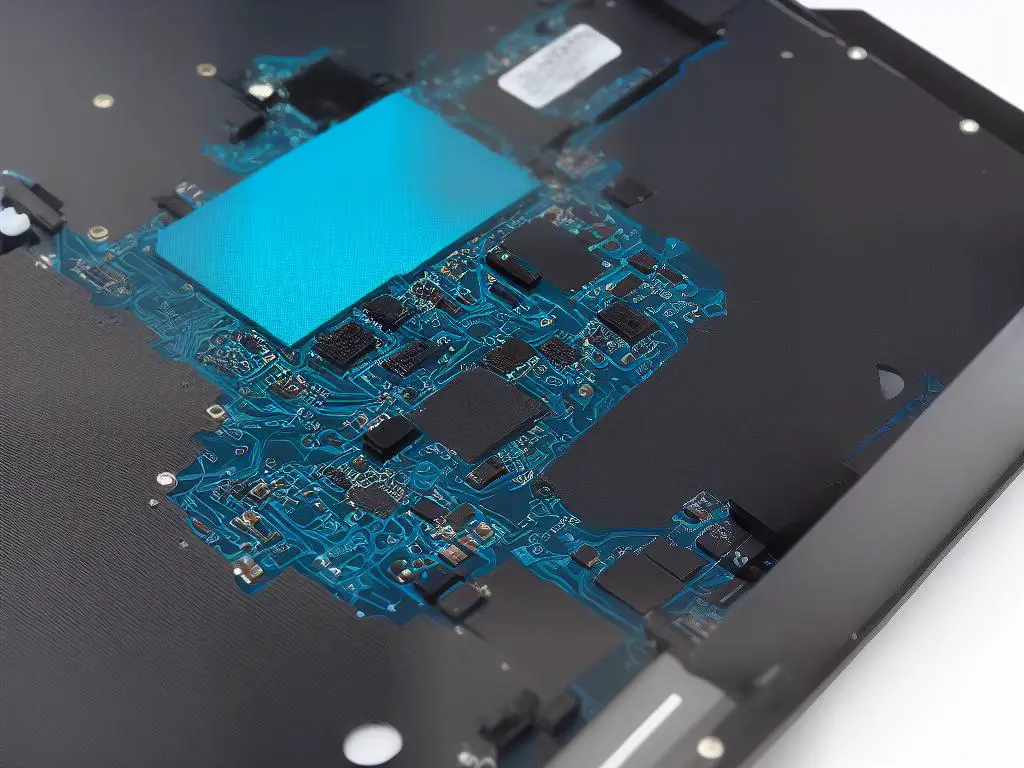
– Anti-static wrist strap (optional)Turn off and unplug your HP laptop, then carefully remove the battery to avoid any electrical damage.Put on the anti-static wrist strap if you have one to avoid any static discharge that could potentially damage the components of your laptop.Open the laptop’s back panel by unscrewing the necessary screws with the appropriate screwdriver. Usually, there are icons or indicators near the screws that hold the laptop’s cooling system. Keep the screws aside for reassembly later.Locate the laptop’s cooling fan and heatsink assembly. The cooling fan usually has visible blades, while the heatsink is a metal component with thin fins.Carefully remove the cooling fan and heatsink assembly by unscrewing them from the motherboard.With the fan and heatsink removed, locate the CPU and GPU chips on the motherboard. They’re typically square-shaped components with small labels.Use the non-abrasive cloth or paper towel dampened with isopropyl alcohol to gently clean the old thermal paste off the CPU, GPU, and heatsink contact surfaces. Ensure all traces of the old paste are removed to provide an optimal surface for the new paste application.Shake the thermal paste tube before opening it. Then, apply a small pea-sized amount of thermal paste onto the center of both the CPU and GPU chips. Do not spread the paste as the pressure during reassembly will take care of spreading it evenly.
Note: Some users prefer the “line” or “grain of rice” method, where a thin line of paste is applied instead of a pea-sized amount. Regardless of the method, make sure not to over-apply or under-apply the thermal paste.Carefully realign the cooling fan and heatsink assembly onto the motherboard, ensuring correct contact with the CPU and GPU chips. Tighten the screws to secure the assembly in place.Place the laptop’s back panel back and screw it into place securely.Reinsert the battery, plug in your laptop, and turn it on. Monitor your laptop’s temperature with a software utility to ensure that the cooling system is functioning properly.
Congratulations! You have successfully applied thermal paste to your HP laptop’s cooling fan. This should help improve the cooling performance and prevent overheating issues.
Reassembling the HP laptop
Ensure you have all the components and tools: Before starting the reassembly process, make sure all parts have been cleaned and are ready to be put back in place. You’ll need a set of small screwdrivers, thermal paste (if you removed the heat sink), and a clean, flat working surface.Reattach the cooling fan: First, insert the cooling fan into its designated slot on the laptop. Secure it with the screws that were previously removed. Ensure that the fan is properly seated and tightly secured.Replace the heatsink (if removed): If you took off the heatsink, apply a thin layer of thermal paste on the CPU and GPU chips. Carefully align the heatsink and press it down gently to ensure proper contact between the chips and the heatsink. Secure the heatsink with the screws you removed earlier.Reconnect the cooling fan cable: Locate the cooling fan connector on the motherboard, and gently plug in the cable. Make sure it’s properly inserted and secure.Replace the laptop cover: Position the laptop cover over the base, ensuring all tabs and notches line up correctly. Gently press down on the cover, working your way around the edges until it clicks into place.Reinstall the screws: Replace all the screws you removed earlier, securing the laptop cover to the base. Be sure to tighten the screws in the appropriate order as specified in the service manual or as you remember from when you disassembled the laptop.Reassemble other components: If you removed components such as the keyboard, touchpad, or RAM, now is the time to reinstall them. Replace the components in the reverse order you removed them, making sure to reconnect any cables or connectors.Reattach the battery: Line up the battery with the battery bay on your laptop, and slide it in until it clicks into place. Ensure the battery is secure by checking the battery latch.Perform a test: Once everything is reassembled, plug in your laptop and power it on. Confirm that the cooling fan is functioning correctly, and the laptop is operating at a normal temperature.Close up and clean: If everything is working as expected, you’re done! Close your laptop, wipe down the outside with a soft cloth, and enjoy your newly repaired cooling fan. Remember, when reassembling your HP laptop, it’s essential to work carefully and methodically to ensure you don’t damage any components or void any warranties. Additionally, consult the service manual or manufacturer’s website for any specific instructions or precautions that may be required for your specific laptop model.
Testing the laptop
Gather necessary tools and materials: Before testing the laptop, make sure to gather a small screwdriver, compressed air (to clean the fan if needed), and a soft cloth. You’ll also need a well-lit workspace to assist in the testing process.Plug in the laptop: Ensure the laptop is fully charged or connected to a power source. This will ensure that the device has enough power during the testing process.Power on the laptop: Turn on the laptop by pressing the power button. Wait for the operating system to load and take note of any unusual noises or performance issues.Check the system temperature: Access the laptop’s BIOS or use a third-party software (e.g., HWMonitor) to monitor the temperature of the system. The laptop’s temperature should stay within a normal range, typically between 30-60°C (86-140°F) for most tasks.Perform a stress test: To check if the cooling fan is working correctly under heavy load, perform a stress test using a free program like Prime95 or run a demanding application, such as a video game or video editing software. This will cause the laptop to generate more heat, causing the cooling fan to work harder to dissipate the heat.Listen for the cooling fan: Put your ear close to the laptop, especially near the vent where the cooling fan is located. You should hear the cooling fan running, indicating that it is functioning correctly.Test the fan speed: If your laptop allows for it, check the fan speed in the BIOS or using third-party software like SpeedFan. Make sure the fan is operating at an appropriate speed to provide adequate cooling for the laptop’s components.Observe the laptop’s performance: During the stress test, observe the laptop’s performance and temperature. The laptop should not overheat, and the temperature should remain stable within normal limits. If the laptop’s performance is unstable or temperatures are too high, there may still be an issue with the cooling system or other components.Shut down the laptop: Once you have completed the testing process and determined that the cooling fan is functioning correctly, shut down the laptop by clicking the ‘Start’ menu, then selecting ‘Shut down’ or ‘Power’ followed by ‘Shut down.’Reassemble the laptop (if necessary): If you had to disassemble the laptop to access the cooling fan, reassemble it following the manufacturer’s instructions. Make sure to reconnect any disconnected components and secure all screws.

Repairing your HP laptop’s cooling fan doesn’t have to be a daunting task. By understanding the cooling system, accurately diagnosing the fan issues, and following the step-by-step guide on disassembling, cleaning, and reassembling your laptop, you can save time, money, and the life of your device. Happy fixing and keep your laptop running cool!