Whether you’re a professional or a tech enthusiast, Dell docking stations offer a convenient way to expand the capabilities of your laptop. With a variety of models, features, and purposes, these stations can enhance your workspace and streamline your day-to-day tasks. In this comprehensive guide, you’ll learn about different types of Dell docking stations, how to set them up with your laptop and peripherals, troubleshoot common issues, optimize performance, update and maintain your station, customize it to suit your preferences, and implement safety measures and best practices to ensure proper care.
Understanding Dell Docking Station Basics
Introduction:
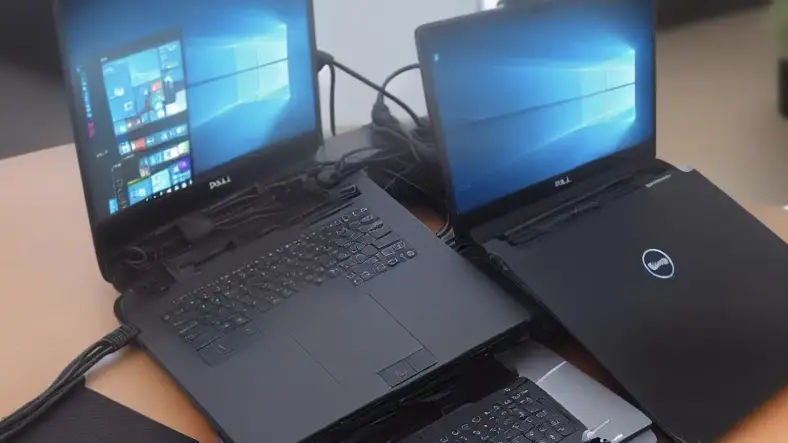
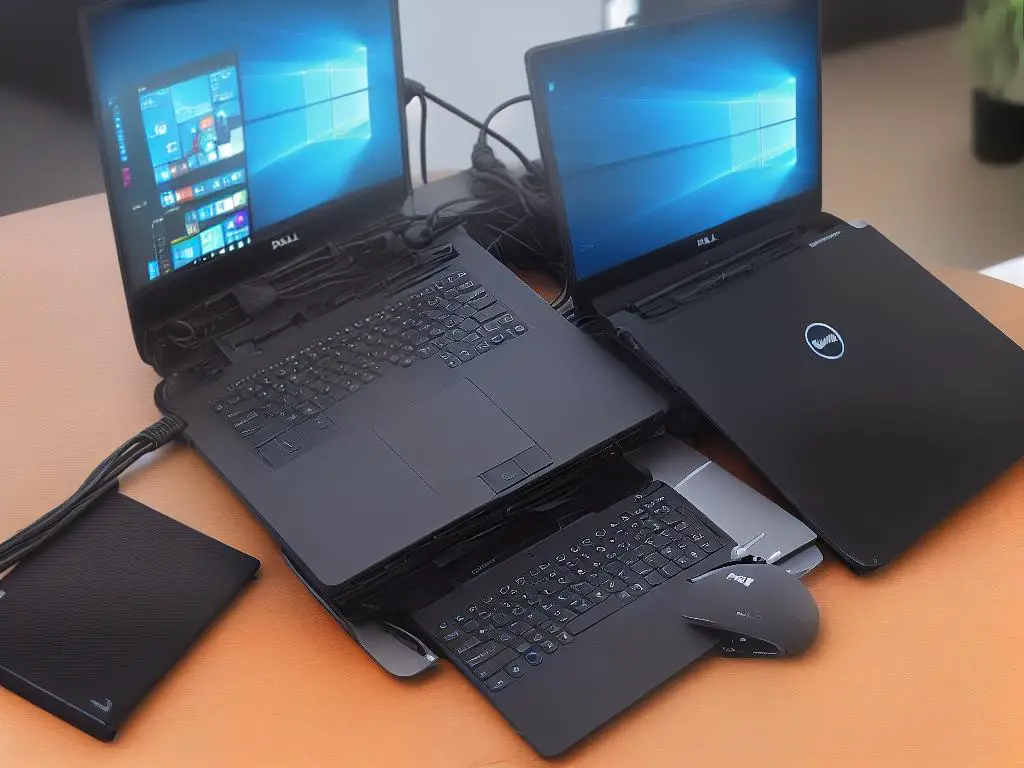
Dell docking stations are designed to help you streamline your work station and achieve better productivity by providing a simple and organized way to connect your laptop to multiple peripherals. With a Dell docking station, you can connect devices such as external monitors, keyboards, mice, audio devices, and other accessories, making it easier to use your laptop as a desktop computer. In this guide, you will get familiar with different types of Dell docking stations, their features, and main purposes.
What is a Dell Docking Station?
A Dell docking station is a device that serves as a hub for connecting multiple peripherals to a Dell laptop. This helps users transform their laptop into a versatile workstation by connecting several devices such as multi-screen displays, external hard drives, and USB devices. These docking stations usually come as either a physical dock that your laptop sits on or as a USB hub that your laptop connects to.
Types of Dell Docking Stations:
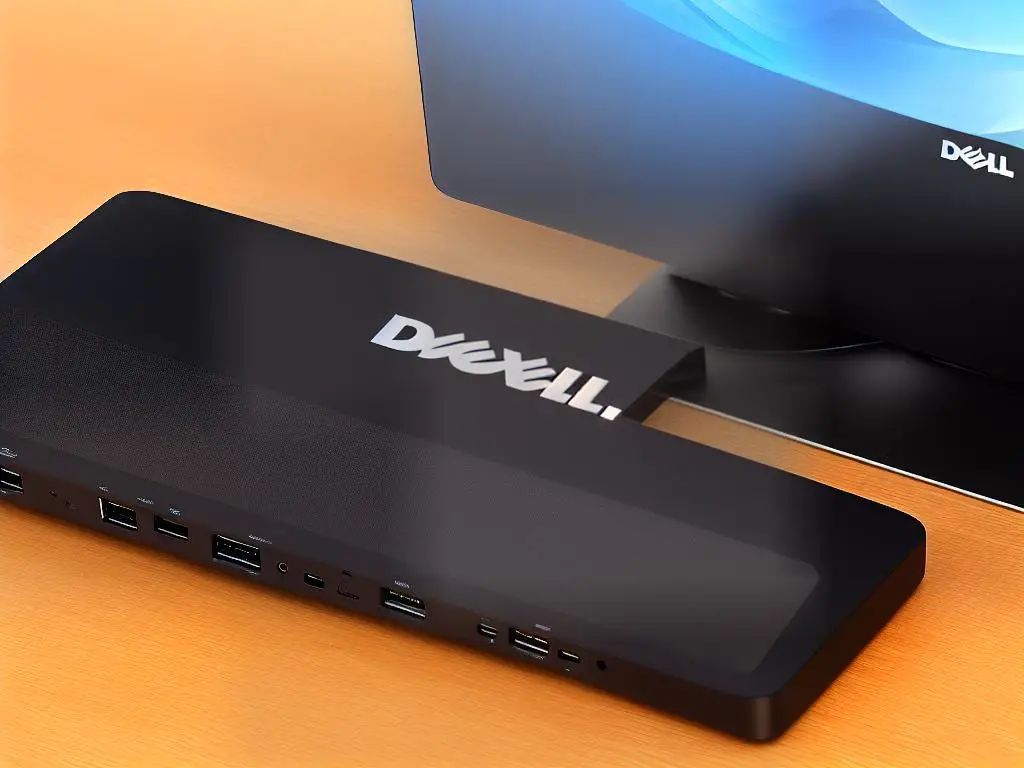
- Dell Docks: Dell Docks are physical docking stations where a laptop is placed and connected using a proprietary Dell connector. These docks generally offer a variety of ports for video, audio, USB, Ethernet, and charging capabilities. Examples include the Dell E-Port Plus and Dell Legacy Extender.
- Dell USB-C and Thunderbolt Docks: These docking stations utilize USB-C and Thunderbolt technology to connect a laptop to the dock with a single cable. They offer a wide range of ports, including multiple display outputs, such as HDMI, DisplayPort, and VGA, as well as USB, audio, and Ethernet connectivity. Examples of USB-C and Thunderbolt docks are the Dell WD19, WD15, and TB16.
- Dell Portable Docks: Dell also offers small and compact portable docks that provide additional connectivity options for on-the-go users. These portable docks usually connect to a laptop with a single USB-C cable, offering limited but essential ports such as USB, HDMI, and card reader slots. Examples are the Dell DA300 and DA200.
Features of Dell Docking Stations:
- Multi-Display Support: By connecting a Dell docking station to your laptop, you can easily set up multiple monitors to create a larger and more productive workspace. Additionally, this enables seamless multitasking between various applications and increases overall efficiency.
- High-Speed Connectivity: Dell docking stations provide multiple high-speed USB ports, Ethernet connections, and other connectivity options that help expand your laptop’s capabilities.
- Universal Compatibility: Many Dell docking stations, especially the USB-C and Thunderbolt docking stations, are compatible with a variety of Dell laptops as well as laptops from other manufacturers, making them a versatile solution for multi-device environments.
- Charging Capabilities: Dell docking stations often supply power to the connected laptop through the same single cable used for data and video transmission. This eliminates the need for a separate charger, reducing clutter and streamlining your workspace.
Conclusion:
Understanding the Dell docking station basics is essential for choosing the right device to suit your needs and to enhance your laptop workstation. These docking stations offer an array of connectivity options and create a more efficient and productive environment, whether you work from home or in an office. By comparing the various types of Dell docking stations and their features, you can easily find the best one that fits your requirements.
Setting up Your Dell Docking Station
Choose a suitable location: Find a stable and flat surface to place your Dell docking station. Ideally, it should be as close as possible to your laptop and other peripherals that you want to connect. Make sure the location is well-ventilated and away from direct sunlight, heat, and moisture.
Unpack the Dell docking station: Carefully open the box and remove the Dell docking station along with its accessories. Check that you have all the necessary components, such as the docking station, power adapter, power cable, and any additional cables required for the peripherals.
Connect the power supply: Plug the power cable into the power adapter and then connect the adapter to the power port on the back of the Dell docking station. Plug the other end of the power cable into a grounded wall outlet or power strip.
Power on the Dell docking station: Press the power button on the docking station to turn it on. You should see a light indicator, usually either blue or white, to confirm that the device is receiving power.
Connect your laptop to the docking station: Dell docking stations usually come with a USB-C or Thunderbolt cable built-in for connecting your laptop. Before connecting, ensure that both your laptop and the docking station support the specific port being used (USB-C or Thunderbolt). Connect the cable to the appropriate port on your laptop.
Connect your peripherals: Depending on your specific model, your Dell docking station may have various ports such as HDMI, DisplayPort, USB Type-A, USB Type-C, Ethernet, and audio ports. Connect your desired peripherals, such as keyboard, mouse, monitor, printer, and speakers, using the appropriate cables.
Verify peripheral connections: Ensure that the connected peripherals are powered on and working correctly. These devices should now be accessible and functional through your laptop.
Install any required drivers or software: Some Dell docking stations require specific drivers or software to function correctly. Visit the Dell support website, find your docking station model, and download and install any required drivers or software on your laptop.
Display settings: If you have connected a monitor to your Dell docking station, you may need to adjust your display settings on your laptop. Right-click on your desktop background, then select either -Display Settings- or -Screen Resolution-. From here, you can adjust your display settings, such as the resolution, orientation, and multiple displays (extended, duplicate, or show only on one screen).
Troubleshoot any issues: If you notice any issues or errors during the setup process, consult the Dell docking station user manual or visit Dell’s support website to troubleshoot and resolve your problems.

Troubleshooting Common Issues
No power or charging
- First, check if both the docking station and the connected device (laptop, tablet, etc.) are turned on and receiving power.
- Ensure that the power adapter is correctly connected to the docking station and a working wall outlet or power strip.
- Check the power adapter for any physical damage or frayed cables, and consider trying a different power adapter if available.
- Connect the device directly to the power adapter, bypassing the docking station, to see if the issue persists.
Device not recognized or connected
- Begin by rebooting both the device and the docking station.
- Check that the USB or Thunderbolt cable is securely connected to both the device and the docking station.
- Ensure the latest device drivers are installed, especially for the docking station and any connected peripherals.
- Try connecting the device to an alternate USB or Thunderbolt port on the docking station.
- If available, test the docking station with another device to confirm it is functional.
Display issues
- Confirm the display, laptop, or tablet is receiving power and is powered on.
- Check the connection between the polling station and the monitor through the HDMI, DisplayPort, VGA, or DVI cables, ensuring they are snug and undamaged.
- Try connecting the display to a different port on the docking station
- Verify that the display settings on the laptop or tablet are configured to output to the external monitor (usually achieved through pressing a particular function key on your keyboard or by accessing the display settings within your operating system).
- Update the display drivers for both the device and the docking station.
- Test the monitor by connecting it directly to the device, bypassing the docking station.
Audio issues
- Check that the audio cable is securely connected to both the docking station and the speaker or headphones.
- Verify the correct playback device is selected in the device’s audio settings.
- Test the speaker or headphones by connecting them directly to the device, bypassing the docking station.
- Update the audio drivers for both the device and the docking station.
USB or peripheral device issues
- Check that the USB or peripheral device is securely connected to the docking station.
- Test connecting the device to a different USB port on the docking station.
- Try connecting the device directly to the laptop or tablet, bypassing the docking station.
- Update the device drivers for the USB peripheral and the docking station.
If none of the above troubleshooting steps resolve your issue, consider reaching out to Dell support for further assistance. Keep in mind that docking stations may have specific compatibility requirements with devices, operating systems, and drivers, so review the documentation for your specific Dell docking station for additional information.
Optimizing Dell Docking Station Performance
Dell docking stations simplify your workspace by providing a single connection point for all of your devices. To fully optimize the performance and integration of a Dell docking station into your setup, follow these tips and tricks.First, it’s important to choose a docking station that’s compatible with your Dell laptop and meets your needs in terms of the number and type of ports available. Some popular Dell docking station models include:- Dell D3100 USB 3.0 Docking Station- Dell WD19 USB-C Docking Station- Dell TB16 Thunderbolt DockTo find out which Dell docking station model is compatible with your laptop, visit the Dell website and search by your laptop model number.To ensure compatibility and optimal performance between your Dell laptop and docking station, it’s vital to have the latest device drivers installed. Visit the Dell Drivers and Downloads page to download and install the latest dock drivers and any other relevant drivers for your laptop model.It’s important to connect your docking station to the correct port on your Dell laptop. Most docking stations use either a USB 3.0, USB-C, or Thunderbolt connection. Consult your Dell laptop and docking station user guides to confirm the correct connection method.Some Dell docking stations require an external power source to function. Ensure the docking station’s power adapter is connected to a power outlet and properly plugged into the dock.To optimize performance, especially for video and high-speed data transfer, use high-quality cables and adapters that meet or exceed the standards required by your specific Dell docking station model. For example, Thunderbolt 3 cables should support up to 40Gbps and USB-C cables should support up to 10Gbps.Once your docking station is properly set up, connect the peripherals you need, such as external monitors, keyboards, mice, and speakers. It’s generally best to plug high-bandwidth devices like monitors into the highest-performance ports on your docking station, such as DisplayPort or HDMI.If you’re using an external monitor with your docking station, ensure the display settings on your laptop are properly configured. Right-click on the desktop, select ‘Display settings’, and then adjust the settings accordingly, such as matching the resolution, extending the display, or mirroring the screen.For the best internet performance when using a wired network connection, use a Gigabit Ethernet cable and connect it to the Ethernet port on your Dell docking station. If using Wi-Fi, ensure your laptop is within range of a strong Wi-Fi signal to maximize connectivity.Ensure your laptop is configured for optimal performance when connected to the docking station. Access the ‘Power Options’ or ‘Power & Sleep’ settings on your laptop and adjust the power plan and sleep settings to ensure your laptop stays on when connected to the docking station.If you encounter any issues with your Dell docking station, try the following steps:- Disconnect and reconnect all cables and peripherals.- Ensure your laptop and docking station firmware and drivers are up to date.- Reset your docking station by unplugging the power adapter, waiting for 30 seconds, then reconnecting it.- If problems persist, contact Dell Support for assistance.By following these tips and tricks, you can optimize the performance of your Dell docking station and create a seamless and efficient working environment.

Updating and Maintaining Your Docking Station
To ensure optimal performance of your Dell docking station, it is crucial to keep the firmware and software updated. This guide will walk you through the steps on how to update and maintain your Dell docking station.First, you’ll need to identify the model of your Dell docking station. There should be a label on the docking station with the model name and a service tag number. Alternatively, you can find this information on the box or the user manual that came with the product.Firmware updates provide fixes, improvements, and new features. To update your docking station’s firmware, follow these steps:- Visit Dell’s support website (https://www.dell.com/support/home)- Enter the service tag number or select “Docking Station” under the “Select a Product” drop-down menu.- Click on the “Drivers & Downloads” tab.- Locate the firmware update under the “Firmware” category. If you see multiple updates, choose the one with the most recent release date.- Download the firmware update file by clicking on the arrow icon next to the file name.- Run the downloaded file to start the firmware update process. Follow the on-screen prompts and ensure that the docking station is connected to your computer during the update.- Once the update is finished, restart your computer and the docking station.Universal Dell docking stations use DisplayLink technology to provide video output. To keep the drivers up-to-date, follow these steps:- Visit the DisplayLink website (https://www.displaylink.com/downloads)- Choose the operating system you’re using (Windows, macOS, etc.).- Download the latest software version and follow the on-screen instructions to install it.- Restart your computer and the docking station after the installation is complete.Make sure the drivers for all peripheral devices connected to your docking station are up-to-date. Visit the device manufacturer’s websites for driver updates.Regularly clean your docking station and keep it free from dust and debris. Also, ensure that all cables are in good working condition and replace them if necessary.If you’re experiencing issues with the docking station after performing these updates, try the following:- Disconnect all peripherals from the docking station.- Restart both your computer and docking station.- Reconnect the peripherals one at a time, checking the functionality after each connection.Keeping your Dell docking station updates and well-maintained can ensure optimal performance and help prevent potential issues. Regularly check for firmware updates, update DisplayLink drivers as needed, and perform routine troubleshooting steps to keep your docking station in great condition.

Customizing Your Docking Station
Step 1: Identify Your Dell Docking Station Model
Before you begin customizing your docking station, make sure to identify the specific model you have. This information can typically be found on the bottom or back of the docking station, or in the user manual. Different models may offer varying customization options, so it’s essential to know which one you’re working with.Step 2: Organize Your Cables
One of the most crucial aspects of customizing your Dell docking station is managing your cables effectively. Proper cable management ensures that your workspace remains neat and clutter-free. Here are a few tips to help you achieve this:
– Use Velcro straps or cable ties to bundle cables together.
– Keep power and data cables separate to minimize interference.
– Connect the cables to your devices before attaching them to the docking station.
– Keep your most frequently connected devices (such as your laptop) close to the docking station to minimize cable sprawl.Step 3: Mount Your Docking Station (optional)
If your specific Dell docking station model supports mounting, this can be an excellent way to free up desk space and make it even easier to connect and disconnect devices. Some common mounting options include VESA mounting, under-desk mounting, or mounting to a monitor arm. When mounting your docking station, follow these tips:
– Make sure the mounting location is sturdy and can support the weight of the docking station and any attached devices.
– Ensure that you still have easy access to the ports and connections on the docking station.
– Secure the docking station to the mounting location using the supplied mounting hardware.Step 4: Add Additional Accessories (optional)
Many Dell docking stations support additional accessories, such as USB hubs, external displays, and speaker bars. These can help further enhance your setup and add extra functionality. Some common accessories to consider include:
– USB hubs: A USB hub can add extra USB ports to your docking station, allowing you to connect additional devices.
– External displays: Connecting an external display to your docking station can provide more screen real estate for multitasking.
– Speaker bars: Some docking stations support external speaker bars, providing a convenient way to add audio capabilities to your setup.
To install these accessories, follow the manufacturer’s instructions and make sure to choose products that are compatible with your specific docking station model.Step 5: Optimize Your Workspace
With your Dell docking station customized to your preferences, it’s essential to optimize your workspace to make the most of your setup. This includes adjusting your monitor height for ergonomic comfort, arranging and securing any loose peripherals like your keyboard and mouse, and keeping your work surface clean and organized.Customizing your Dell docking station can greatly enhance your overall experience while using your laptop. By following the steps outlined above, you will be able to create a workspace that is both functional and clutter-free.
Safety and Best Practices
Dell docking stations are designed to enhance the productivity of your computer by connecting various devices and peripherals through a single docking station. They simplify the process of connecting your devices and help in maintaining an organized workspace. To ensure the proper handling and care of your Dell docking station, follow these safety measures and best practices.Safety Measures: 1. Read the documentation: Before using the Dell docking station, take the time to read the user manual and any other provided documentation. This will acquaint you with the docking station features and provide instructions on how to set it up correctly.2. Power supply: Use the original or recommended AC adapter and power cord that come with the docking station. This ensures the consistent and safe supply of power to the docking station and connected devices.3. Keep away from liquids: Avoid using the docking station in wet environments or placing any liquids near it. Exposure to liquids may cause short-circuiting or other damage to the docking station.4. Ventilation: Place the docking station in a well-ventilated area to prevent overheating. Leave sufficient space around the device for proper airflow, and avoid covering it or placing it near heat sources.5. Keep the area clean: Dust, dirt, and debris can harm the docking station’s performance and damage connectors. Ensure that the docking station is in a clean environment, and periodically clean connectors with a soft, lint-free cloth.6. Avoid electrical overload: Connect only the devices supported by your specific docking station model. Plugging too many devices into the docking station can lead to an electrical overload and result in damage to the equipment.7. Cable management: Make sure all connected cables are organized and secured, preventing potential tripping hazards or accidental disconnection.Best Practices:1. Positioning: Place the docking station in a stable, flat location, ensuring additional connected equipment or peripherals do not place stress on the connectors.2. Connecting and disconnecting devices: When connecting or disconnecting peripherals, do so gently to avoid damage to the connector ports. Always unplug the devices before moving the docking station to prevent accidental disconnection or damage.3. Firmware updates: Regularly check for firmware updates from Dell’s support website to ensure your docking station is functioning optimally and securely.4. Proper shutdown: Before disconnecting your laptop or computer from the docking station, ensure a proper shutdown or undocking process. This prevents data loss or damage to your computer and peripherals.5. ESD protection: Utilize Electrostatic Discharge (ESD) protection methods when handling the docking station and connected devices, as they may have sensitive electronic components.6. Tech support: If you experience issues with your Dell docking station, promptly contact Dell customer support or consult the troubleshooting section in your user manual.Using a Dell docking station can enhance your computer experience and improve productivity. By following safety measures and best practices, you can ensure the proper handling and care of your docking station and other connected devices.

After exploring the various aspects of Dell docking stations, you should now have a strong understanding of how to make the most of your docking station experience. By setting up your station properly, troubleshooting issues effectively, optimizing performance, maintaining updates, and customizing your setup, you can achieve a seamless and efficient workstation. Be sure to follow safety guidelines and best practices to extend the life of your docking station and ensure a safe working environment. With the right knowledge and approach, you’ll soon discover just how invaluable a Dell docking station can be in enhancing your productivity and workspace.